

Can You Reuse Press-On Nails? 7 Easy Steps & Care Tips
If you love quick, salon-quality manicures at home, you have likely wondered: can you reuse press-on nails? Press-on nails have become one of the most convenient beauty solutions for modern nail enthusiasts. Reusing your high-quality press-on sets not only saves money but also keeps your natural keratin healthy and prevents unnecessary beauty waste.
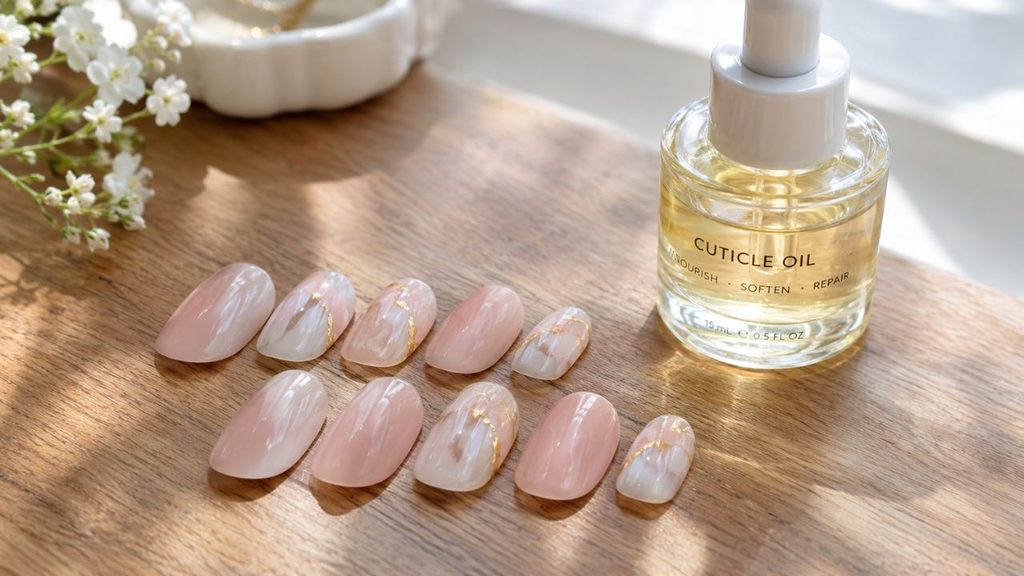
Over my 8 years of hands-on experience in natural beauty care and manicures, I have tested dozens of glue formulations, sticky tabs, and removal techniques. The short answer is a resounding yes—you can reuse press-on nails multiple times if you remove, clean, and store them properly.
In this ultimate guide, you will learn step-by-step methods on how to reuse press-on nails safely without causing surface splitting or damaging your natural nail beds.
My Personal Experience with Reusable Manicures
When I first started using adhesive manicures, I used to rip them off or force acetone under the edges. This destroyed both the artificial tips and my natural keratin layers. My tips became thin, brittle, and prone to peeling.
After consulting dermatologist recommendations from the American Academy of Dermatology Association, I completely changed my removal process. Swapping harsh acetone for gentle warm oil soaks changed everything. Now, my sets last through 3 to 4 reapplications, and my natural tips stay strong and healthy underneath.
Why Should You Reuse Press-On Nails?
Before diving into the step-by-step process, it helps to understand why learning how to wear your favourite sets again is worth the extra few minutes of effort.
Top Benefits:
- Cost Efficiency: High-quality custom sets can be worn 3 to 5 times, dramatically reducing your cost-per-manicure.
- Nail Health: Gentle removal methods prevent physical trauma and matrix thinning.
- Eco-Friendly: Reusing synthetic tips reduces plastic waste in your daily beauty routine.
If your natural tips are currently suffering from past mechanical peeling or physical damage, check out our complete guide on how to repair peeling nails naturally to restore keratin health alongside your press-on routines.
Step-by-Step Guide: How to Safely Remove Press-On Nails for Reuse
For a safe reapplication, the removal stage is critical. Never pry or force them off dry!
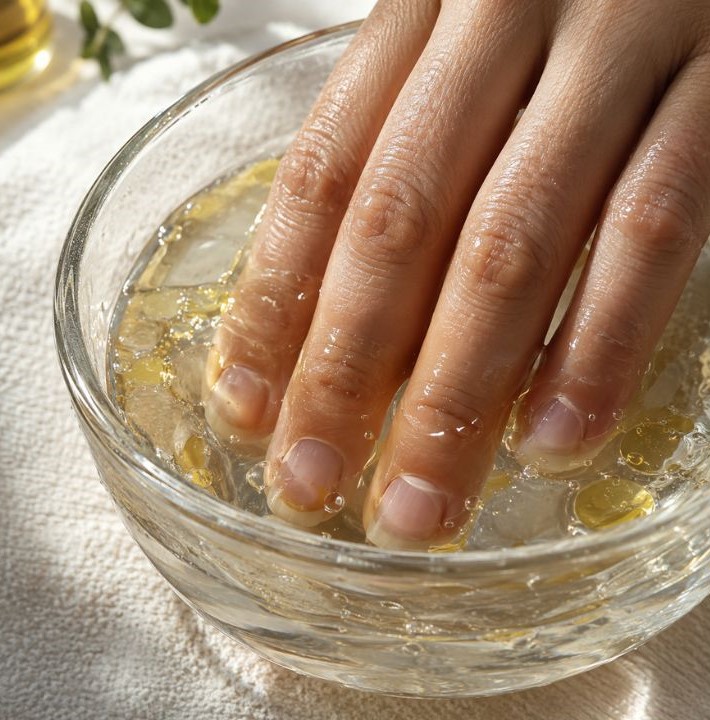
Step 1: Prepare a Gentle Warm Oil Bath
Mix warm water, a few drops of liquid dish soap, and 1 tablespoon of nourishing cuticle oil or olive oil in a small bowl.
Step 2: Soak Your Fingertips
Submerge your fingertips for 10 to 15 minutes. The warm water and oil mixture will naturally break down the adhesive bond without weakening the plastic tips.
Step 3: Gently Nudge the Edges
Use a wooden cuticle stick to test the edges. Once the bond loosens, gently lift the tips away from the cuticle line. If you feel resistance, soak for an additional 5 minutes.
How to Clean and Prep Used Press-On Nails for Next Time
Once removed, you must properly sanitise and clean the tips if you want to extend the lifespan of your artificial sets effectively in the future.
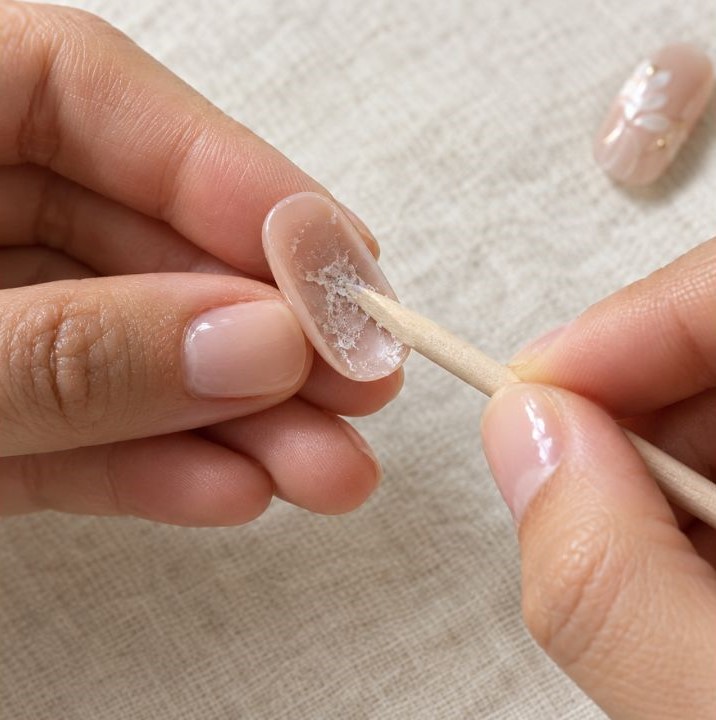
1. Remove Residual Glue Buildup
Use an electronic nail drill on a low setting or a fine-grit buffer block to gently buff away old dried glue from the underside of the artificial tip.
2. Sanitise and Disinfect Your Tools and Tips
Always sanitise your implements and synthetic tips. According to hygiene protocols outlined by the Centres for Disease Control and Prevention (CDC), removing residue prevents microbial growth.
Learn how to maintain your hygiene tools safely in our step-by-step guide on how to clean and maintain your nail tools properly.
Adhesive Comparison for Reusable Press-On Nails
Selecting the right adhesive impacts how easily you can prep your tips for future wear.
| Adhesive Type | Wear Duration | Reusability Ease | Removal Difficulty |
| Sticky Adhesive Tabs | 1 – 3 Days | Very Easy (no glue residue) | Minimal soaking needed |
| Nail Glue (Liquid) | 1 – 2 Weeks | Moderate (Requires gentle buffing) | A warm oil soak is required. |
| UV Gel Glue | 2 – 3 Weeks | Harder (Requires careful drilling) | Professional soak-off needed |
If you notice slow regrowth or stunted tips after frequent adhesive wear, explore our practical tips on why your nails grow slowly and how to fix it.
Common Mistakes to Avoid When You Reuse Press-On Nails
To ensure your reusable sets last as long as possible, avoid these common pitfalls:
- Using Pure Acetone Soaks: Acetone melts ABS plastic, rendering press-on sets completely unusable for future wear.
- Scraping Natural Beds with Metal Tools: Aggressive metal pushers gouge raw keratin layers.
- Storing Tips While Damp: Always dry your press-ons completely before storing them in an airtight box to prevent bacterial growth.
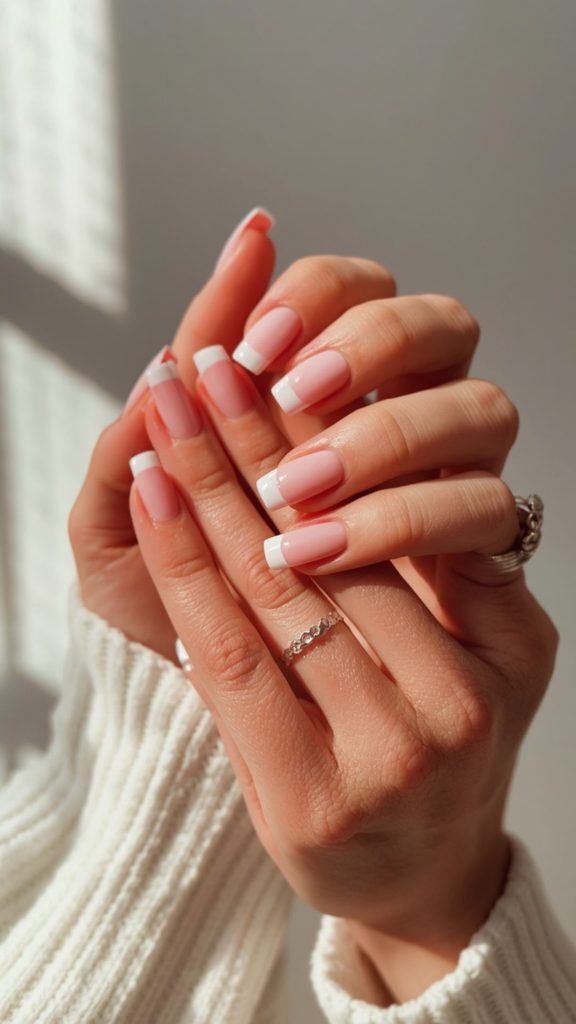
For a full holistic breakdown of maintaining healthy daily habits, explore our master nail growth care guide.
Frequently Asked Questions
How many times can you reuse press-on nails?
High-quality, thick acrylic press-ons can be reused 3 to 5 times. Thinner, budget sets may only last 1 to 2 uses.
Does nail glue ruin press-on nails for reuse?
No. Glue creates a dried layer under the tip, but you can gently buff or drill it off to wear your tips again safely.
Can you reuse press-on nails attached with adhesive tabs?
Yes! Sticky tabs are actually the easiest way to reuse press-on nails because the tabs peel off cleanly without leaving hard residue.
Read more on this topic in the Press-on Nails category.

One Comment