How to Use Nailiques Formula 2: 5 Easy Steps to Magically Flawless Nails
If your nails are soft, peeling, constantly splitting, or just refuse to grow past a frustrating short length, you have probably already heard about Nailiques Formula 2. But knowing exactly how to use Nailiques Formula 2 is what separates a successful nail recovery from a repetitive cycle of breakage and disappointment.
This step-by-step guide covers every stage of the correct application process — from the very first prep right through to a long-term maintenance routine. Whether you are completely new to nail protein treatments or simply want to refine your technique, this guide gives you everything you need in clear, practical detail.
What Makes Nailiques Formula 2 Different?
Nailiques Formula 2 is a targeted nail protein treatment created specifically for soft, peeling, bitten, split, or weak nails that simply will not grow. Unlike a standard nail hardener or base coat, this formula works at the level of the nail matrix, depositing a carefully balanced blend of hydrolysed protein, keratin, calcium, and gelatin deep into the nail layers.
These active ingredients work together to bond weakened nail layers and reinforce the nail plate from within rather than simply coating the surface. It is this structural approach — not surface hardening — that makes it so effective for brittle nails that have resisted other treatments.
According to Healthline’s expert guide to nail health, nails become brittle and prone to peeling when the nail plate loses structural protein and moisture — exactly the deficiency this formula is designed to correct.
What You Will Need Before You Start
Before getting into the proper nailiques formula 2 how to use process, gather all your supplies in one place. This keeps the routine smooth and ensures you are not cutting corners mid-application:
- Nailiques Formula 2 nail protein treatment
- Non-acetone nail polish remover (acetone is too harsh and strips essential moisture)
- Warm water and gentle soap
- A clean, lint-free cloth or paper towel
- A crystal or glass nail file (gentler on brittle edges than emery boards)
- Cuticle oil for post-treatment nourishment
Avoid applying any hand cream, cuticle oil, or lotion before your treatment session. Any oily residue left on the nail surface will prevent the protein from bonding correctly and cause the application layer to lift or peel within hours.
Step 1: Remove Old Polish and Cleanse Your Nails Properly
Always begin with completely bare nails. Use a non-acetone remover to gently dissolve any existing polish or any previously applied layers of nail protein that need to be refreshed as part of your weekly reset cycle.
Once removed, wash both hands thoroughly with soap and warm water. This step is essential — it eliminates trace oils, creams, or product residue from the nail surface. Dry your nails completely before moving on, including the underside of the free edge. Even slight moisture left behind will break down the adhesion of your first protein coat.
Lightly file your nails in one direction only, shaping them into a soft square or a gently rounded edge. Avoid the back-and-forth sawing motion that weakens the nail tip and worsens peeling tips over time.
Step 2: Apply Your First Nail Protein Coat
You are now ready to apply. Before opening the bottle, roll it gently between your palms for a few seconds — never shake it vigorously. Shaking introduces air bubbles that cause the application layer to bubble, pit, or lift at the edges.
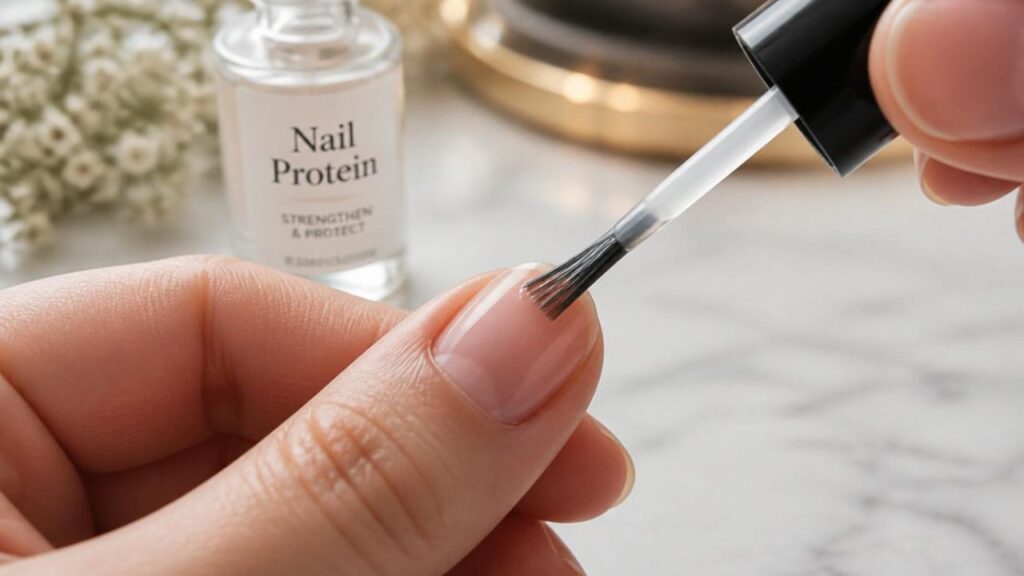
Wipe excess product from the brush on the inner rim of the bottle neck. Apply a thin, controlled first coat to each nail, sweeping smoothly from the cuticle base to the free edge. You can also gently brush a thin coat along the underside of the tip for extra sealing and protection against moisture.
Apply two coats in your first session, allowing each one to dry fully before adding the next. Learning how to use Nailiques Formula 2 correctly at this stage is critical — patience with your very first application sets the entire treatment up for success.
Step 3: Allow Each Application Layer to Dry Completely
This is the most commonly rushed step in the entire process, and it has the greatest impact on your results. After each application layer, wait at least 60–90 seconds for the coat to set fully before touching your nails or reaching for the brush again.
You will know a coat has dried when it appears clear, smooth, and uniformly glossy across the nail plate. Applying a second coat over a wet one disrupts bonding, traps moisture beneath the protein surface, and causes uneven coverage that can lead to premature peeling.
The formula dries quickly, so those extra seconds cost you very little. This part of understanding how to use Nailiques Formula 2 is simple — but it is consistently where most people lose results without ever realising why.
Step 4: Build Up Daily Layers for Five to Seven Days
This is where the nail recovery magic truly begins. One of the most important aspects of knowing how to use Nailiques Formula 2 is understanding that the treatment is cumulative — you build it up over a daily cycle rather than starting fresh every time.
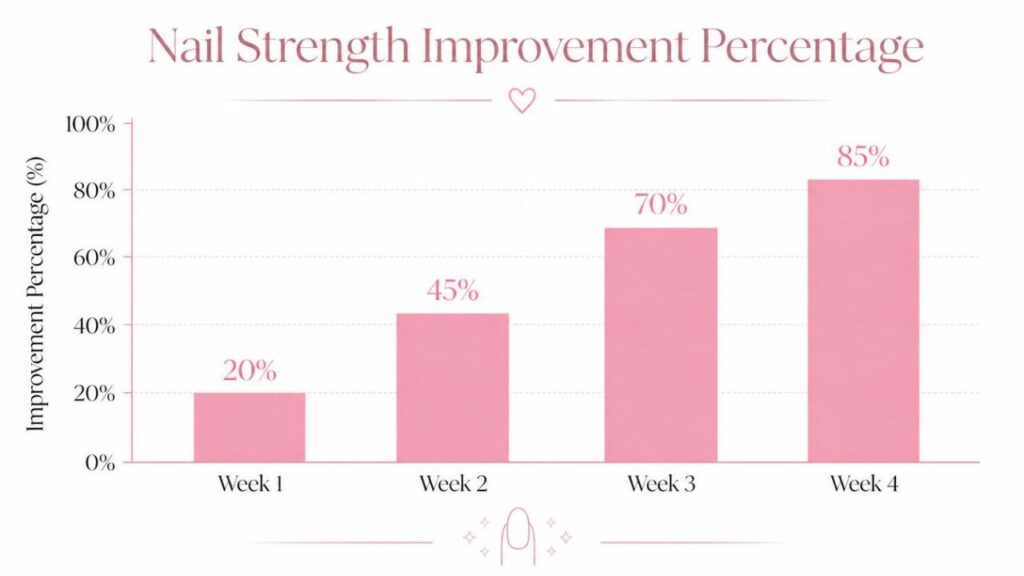
Apply one new coat over your existing layers every single day for five to seven days. Do not remove the previous day’s coat before your daily application. Simply add one fresh layer on top. This progressive build-up creates a protective protein shield over the nail plate that supports the nail matrix as healthier growth begins emerging from the base.
An important note: try not to exceed four total coats before your weekly removal and reset. Too many layers cause the protein to become too rigid and thick, which eventually results in lifting or large-scale peeling from the free edge. For more in-depth advice on supporting healthy nail growth alongside your treatment, read our complete guide to healthy nail growth for complementary daily nail care habits.
Step 5: Remove, Reset, and Reduce Application Over Time
After five to seven days, use a non-acetone remover to take off all the accumulated layers completely. Wash both hands with soap and water, dry thoroughly, and restart your daily application cycle again from scratch.
As your nails strengthen and improve over the following weeks, begin reducing the frequency of your applications. Progress from daily use to every other day, then to two to three times per week. Once you have achieved the nail strength you are aiming for, you can graduate to Nailiques Formula 1, which is the lighter maintenance formula designed for healthy, recovered nails.
For nails that are extremely damaged or severely brittle and do not show meaningful improvement after six weeks of consistent Formula 2 use, the brand recommends stepping up to Formula 2 Plus — a more intensive nail protein concentration for excessively problematic nails.
Pro Tips for Maximum Nail Protein Results
Understanding nailiques formula 2, how to use it correctly, is your foundation — but these additional strategies will accelerate your progress and protect your results.
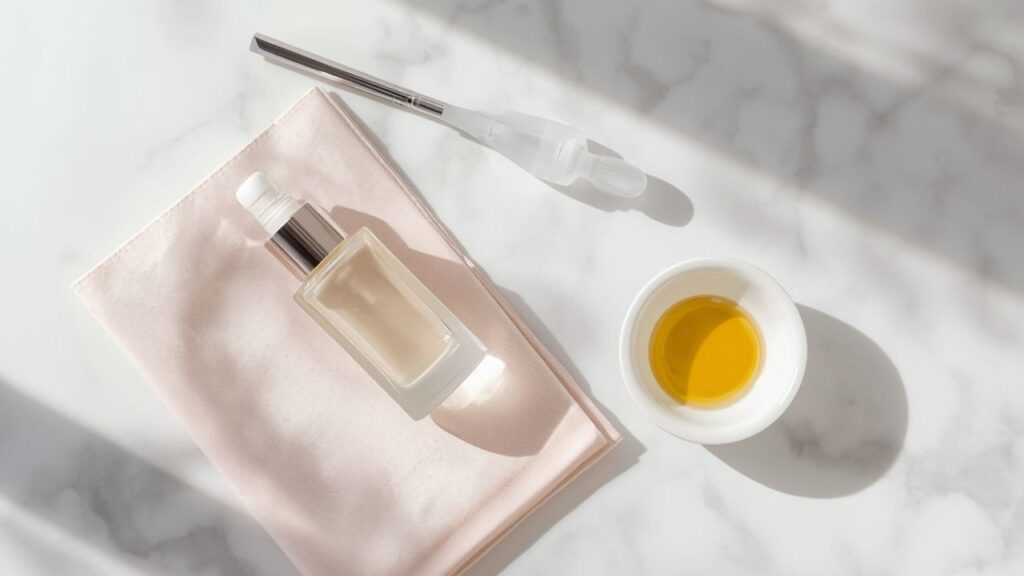
Protect from water and chemicals. Wear rubber gloves when washing dishes or using cleaning products. Prolonged water exposure softens the protein layer and dramatically reduces its bonding effectiveness.
Keep the formula off your cuticles. Apply it only to the nail plate. Getting it on the cuticle skin causes unnecessary hardening in the surrounding tissue, which can restrict natural nail growth over time.
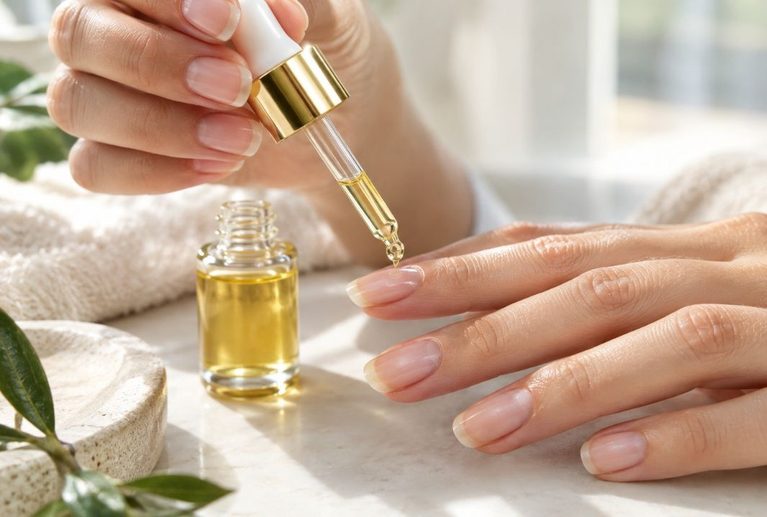
Apply cuticle oil after the protein dries. Once your coats are fully set, nourish the skin around the nail with a quality cuticle oil. This keeps the nail bed and surrounding skin healthy without interfering with the bonding protein treatment underneath.
Support from the inside. According to WebMD’s nail health guidelines, nutrients including biotin, zinc, and iron are fundamental to nail matrix health and strong regrowth. Supporting your treatment with proper nutrition dramatically improves how quickly you see visible results.
Invest in a quality nail file. A crystal or glass file seals the nail edge as it shapes, rather than tearing the layers apart as a standard emery board does.
Final Thoughts
Now that you understand exactly how to use Nailiques Formula 2, the only variable between you and stronger, healthier nails is consistent, disciplined application.
Every single step in this process plays a role. The clean, oil-free prep prevents poor adhesion. The thin, patient coats ensure proper bonding. The daily layering routine builds the protective protein coverage your nail matrix needs to support new growth. And the weekly reset ensures the cycle keeps delivering results without the treatment becoming too thick or rigid.
Commit to the process for at least four to six weeks, protect your nails from moisture and harsh chemicals, and pair your routine with the nutrition your nail matrix needs to rebuild from within.
If you are still uncertain about Nailique’s formula 2 and how to use it for your specific nail condition — particularly if your nails are extremely thin, damaged, or struggling with persistent peeling — starting with the standard daily protocol above gives you the strongest possible foundation for a full nail recovery. And how to use Nailiques Formula 2 for long-term results really does come down to one thing: consistency every single week.
Your nails can regenerate, rebuild, and grow strong again. With the right nail protein treatment applied the right way, that recovery is entirely within reach.
Read more on nail growth & care on the Care Guide Category page.