How to Apply Press-On Nails Properly: The Complete Guide
Press-on nails have come a long way from the thick, obviously fake nails of the past. Today’s options look remarkably natural and can easily last as long as a salon manicure. The real secret comes down to technique. If you want to learn how to apply press-on nails properly, avoiding premature popping starts with the right application steps.
If you want your manicure to last for weeks without popping off prematurely, learning how to apply press-on nails properly is the most important step. Many people assume press-ons look cheap or fall off easily, but the secret comes down to proper surface preparation and adhesive technique.
Why Application Technique Matters
You might think press-on nails are foolproof—just peel and stick, right? In reality, careful preparation is what separates a manicure that lasts hours from one that lasts weeks.
Poor application leads to several common problems. Air bubbles under the surface create weak spots where water seeps in, loosening the bond immediately.
When you apply press-on nails properly, they can last anywhere from one to three weeks. Taking a few extra minutes during prep pays off with days of flawless wear.
What You Need Before Starting
Gathering all your supplies before you begin makes the process smooth and prevents you from rushing while adhesive is drying.
Your press-on kit should include nails in various sizes and either adhesive tabs or nail glue. Having a file, buffer, cuticle pusher, and rubbing alcohol ready is essential.
Give yourself at least 30 minutes for your first attempt. Working at a well-lit desk ensures you can rest your hands comfortably without making messy placement errors.
Setting up a proper workspace prevents unnecessary rushing while working with fast-drying glues. When you take your time to apply press-on nails properly, having all your files, alcohol wipes, and tips organized in advance guarantees a seamless, stress-free application.
Preparing Natural Nails: The Most Important Step
Nail preparation is where most people cut corners, and it is where applications fail. Start by removing any existing polish completely using an acetone-based remover.
Wash your hands thoroughly with soap and water to strip away everyday oils and dirt. Dry your hands completely, as residual water is the ultimate enemy of adhesive.
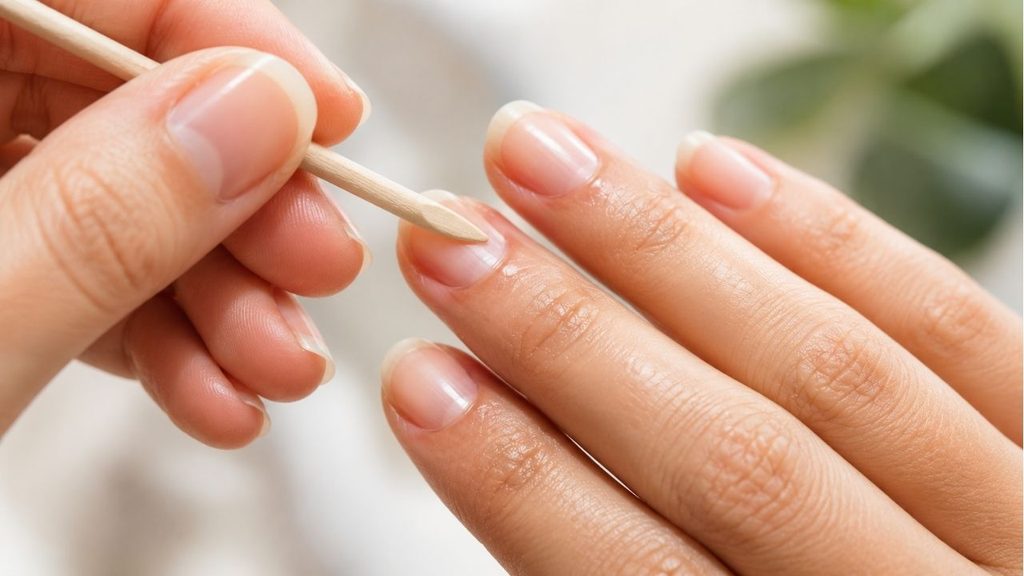
Push back your cuticles gently using a wooden stick. This creates a clean surface area on your nail plate for the press-on to grip onto.
Trim your natural nails short and file any rough spots. Lightly buff the surface of your natural nails to remove the shine, then wipe each nail with rubbing alcohol.
Sizing Your Press-On Nails
Proper sizing makes artificial sets look completely natural, which is why top kits highlighted in the Forbes Vetted guide to press-on nails include 24 to 30 custom size options. Lay out all the nails and organise them by size to make selection easier.
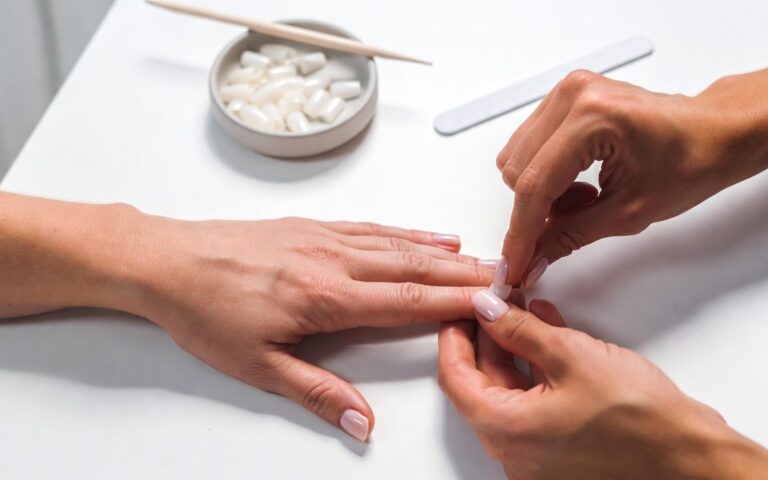
Always choose a size that fits seamlessly edge-to-edge without pressing down forcefully on the sidewalls. Taking a few extra minutes to file the sides helps you apply press-on nails properly for a comfortable, custom fit.
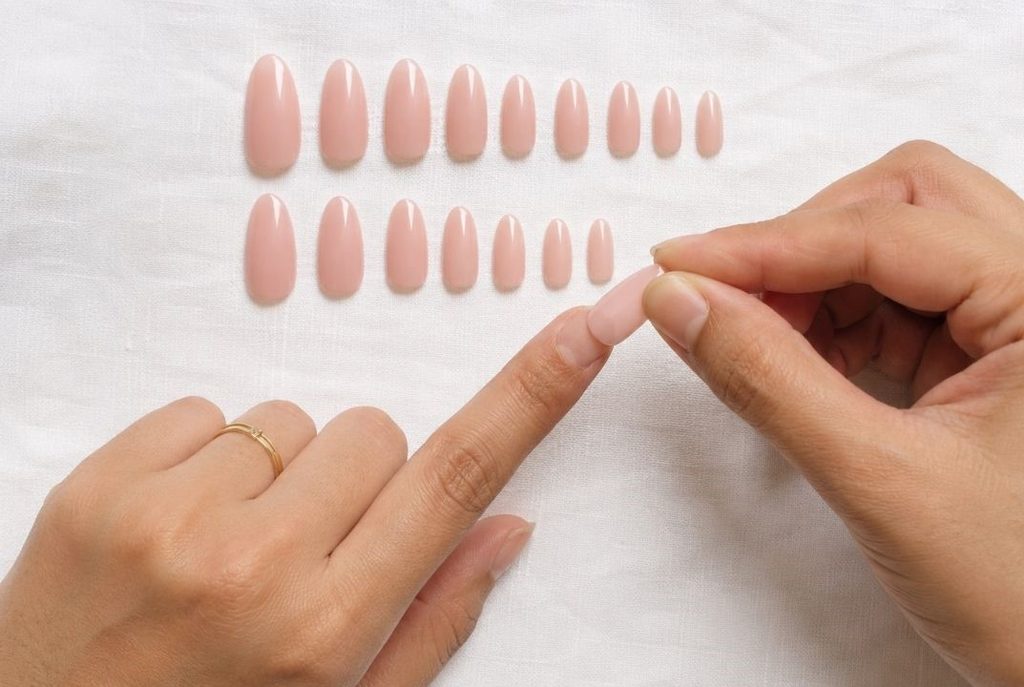
Hold a press-on up to your natural nail without adhesive. The full piece should cover your nail from side to side without touching the skin on either edge.
If it touches your skin, it is too big and will cause severe lifting. If you are between sizes, pick the smaller option and file the edges gently.
Size all ten nails before opening your glue. Laying them out in order saves you from grabbing the wrong piece once your hands are covered in adhesive.
Filing the sides of a press-on that is slightly too large creates a seamless custom fit that prevents painful pressure on your nail walls. Learning how to apply press-on nails properly with accurate sizing prevents the artificial material from digging into your cuticles.
Adhesive Tabs vs Nail Glue: Choosing Your Method
Press-on nails can be applied with sticky adhesive tabs or traditional liquid nail glue. Each option has distinct advantages depending on how long you want your manicure to last.
Adhesive tabs are perfect if you want to remove your set after a few days. They are forgiving for beginners and leave zero damage on your natural nails.
Hold each tip at a 45-degree angle starting right at the cuticle line, then press down firmly for 30 seconds. This angled technique eliminates trapped air bubbles, ensuring you apply press-on nails properly without creating moisture traps that cause green nail syndrome.
Knowing how to apply press-on nails properly with nail glue creates a much stronger, water-resistant bond. With careful prep, glue keeps your nails secure for two to three weeks through daily chores.
Your choice depends on your personal priorities. If you prefer frequent style changes, pick tabs; if you want maximum longevity, stick with glue.
How to Apply Press-On Nails Properly with Adhesive Tabs
If you are using adhesive tabs, select the right size for each finger. The tab should cover most of your natural nail plate without touching the surrounding skin.
Peel off the bottom backing and press the tab firmly onto your nail. Use your thumb or a wooden stick to smooth out any trapped air bubbles completely.
Peel off the top protective film and position your artificial nail at a 45-degree angle near the cuticle. Lower it down slowly to ensure alignment.
Press down firmly for at least 30 seconds across the entire surface. Pay extra attention to the free edges to create a tight, lasting bond.
How to Apply Press-On Nails Properly using Liquid Glue
To apply press-on nails properly with liquid glue, speed and precision are required because the adhesive sets almost instantly. Apply a tiny, rice-grain-sized drop of glue onto your natural nail plate.
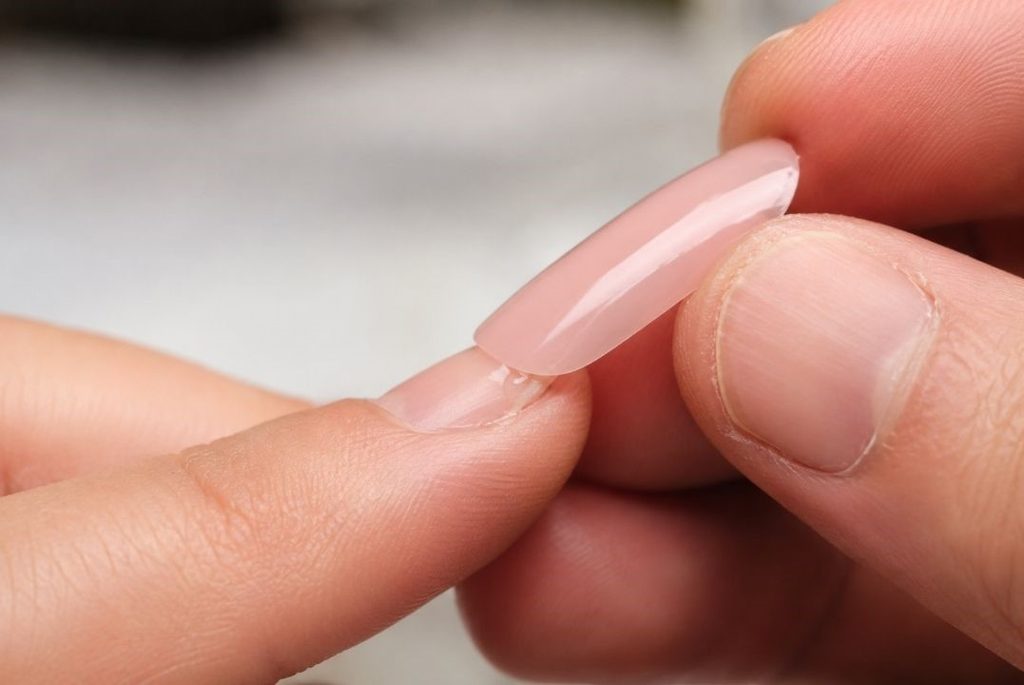
Place the artificial nail at your cuticle line at a 45-degree angle, then roll it down smoothly. This rolling motion pushes trapped air out from underneath.
Hold the nail down with firm, steady pressure for 30 to 60 seconds without wiggling. Wipe away any stray glue around your skin using a cotton swab dipped in acetone.
Work on one hand completely before starting the next. This prevents you from accidentally bumping wet nails with your opposite fingers.
The Critical First Hour After Application
The first hour after finishing your manicure is crucial for long-term wear. Avoid water completely for at least two hours so the adhesive cures fully.
Do not wash dishes, take a shower, or apply heavy hand creams during this window. Early water exposure is the main reason press-ons lift early.
Keep your hands relatively relaxed and avoid testing the strength of your tips. Applying your set right before bed lets the bond strengthen overnight.
Allowing the adhesive bond to fully cure during this initial waiting period determines how well your manicure withstands daily wear and tear. If you want to apply press-on nails properly, applying your set right before going to sleep allows the glue to bond undisturbed overnight.
Filing and Shaping Your Set
Once your press-ons are fully set, you can file and shape them to your liking. Use a fine-grit nail file to shorten the length gently.
Always file in one single direction rather than sawing back and forth. Sawing creates harsh vibrations that can loosen the adhesive bond at the base.
Be careful not to file too close to your cuticle line. Focus your shaping on the free edge to customize almond, square, or oval tips safely.
Simple Rules to Make Your Nails Last Longer
Aftercare determines how long your new manicure stays flawless. Always wear rubber gloves when washing dishes or using harsh household cleaning chemicals.
Keep your cuticles hydrated by applying a daily cuticle oil carefully around the edges. Avoid using your nail tips as tools to pry open cans or peel stickers.
If you notice a corner lifting slightly, fix it immediately. Dab a microscopic drop of glue under the lifted edge and hold it for 30 seconds.
Treating your nails with care prevents sudden popping when lifting heavy objects or typing on a keyboard. Taking these simple aftercare precautions ensures that every time you apply press-on nails properly, your set stays flawless and secure for up to three full weeks.
Common Application Mistakes and How to Fix Them
Trapping air bubbles under your nails creates cloudy patches and weak spots. To avoid this, always press firmly from the centre toward the outer edges during application.
If you spill glue on your skin, let it dry completely before gently buffing it away. Trying to wipe wet glue spreads it further over your fingers.
Learning how to apply press-on nails properly prevents premature popping, which usually points to inadequate prep work. Always ensure your natural nails are thoroughly buffed and cleaned with alcohol beforehand.
Handling Different Shapes
Square and coffin shapes require extra pressure on the outer corners, as flat edges easily catch on clothing.
Almond and stiletto shapes feature tapered tips that need firm pressure. Avoid flexing pointed tips during filing so the base stays secure.
Oval and round shapes naturally follow your cuticle curve. Ensure the inner arch matches your natural line precisely to block out water.
Removing Press-On Nails Safely
Never peel or force artificial nails off, as this rips away natural keratin layers. For tab applications, soak your hands in warm, soapy water for 15 minutes.
For glue applications, soak your tips in pure acetone for 15 to 20 minutes. The acetone dissolves the hard glue, allowing the pieces to slide off easily.
After removal, wash your hands and apply a rich moisturiser. If your nails feel weak or thin after removing glue, read our guide on how to repair damaged nails to restore your natural nail barrier quickly. Give your natural nails a rest for a few days before applying a fresh set.
Advanced Tips for Salon-Quality Results
Use a professional nail dehydrator or primer after your alcohol wipe. Dehydrators strip hidden oils to create an optimal surface for long-term adhesion.
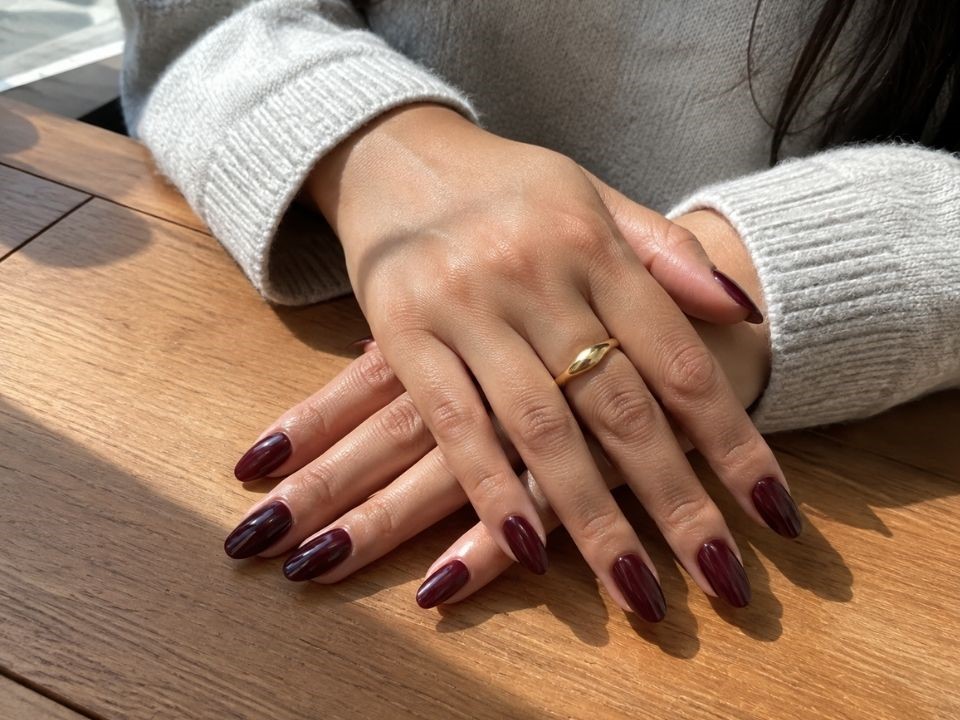
Applying a thin layer of base coat before your adhesive adds an extra layer of protection to your natural nail plates. If your natural nails are brittle, using a strengthening treatment for damaged nails before applying base coat helps rebuild flexibility and strength.
If you love nail art or custom polish, paint your press-ons before attaching them. Decorating pre-applied pieces is much easier and avoids accidental smudges.
The Bottom Line
Learning how to apply press-on nails properly at home simply requires patience and clean prep work. By buffing your natural nails, picking the right sizes, and avoiding water during the first hour, your set will stay strong for weeks.
Practice makes perfect, so do not worry if your first attempt takes a little longer. With a little care, you can enjoy durable, beautiful nails without spending time and money at the salon!