
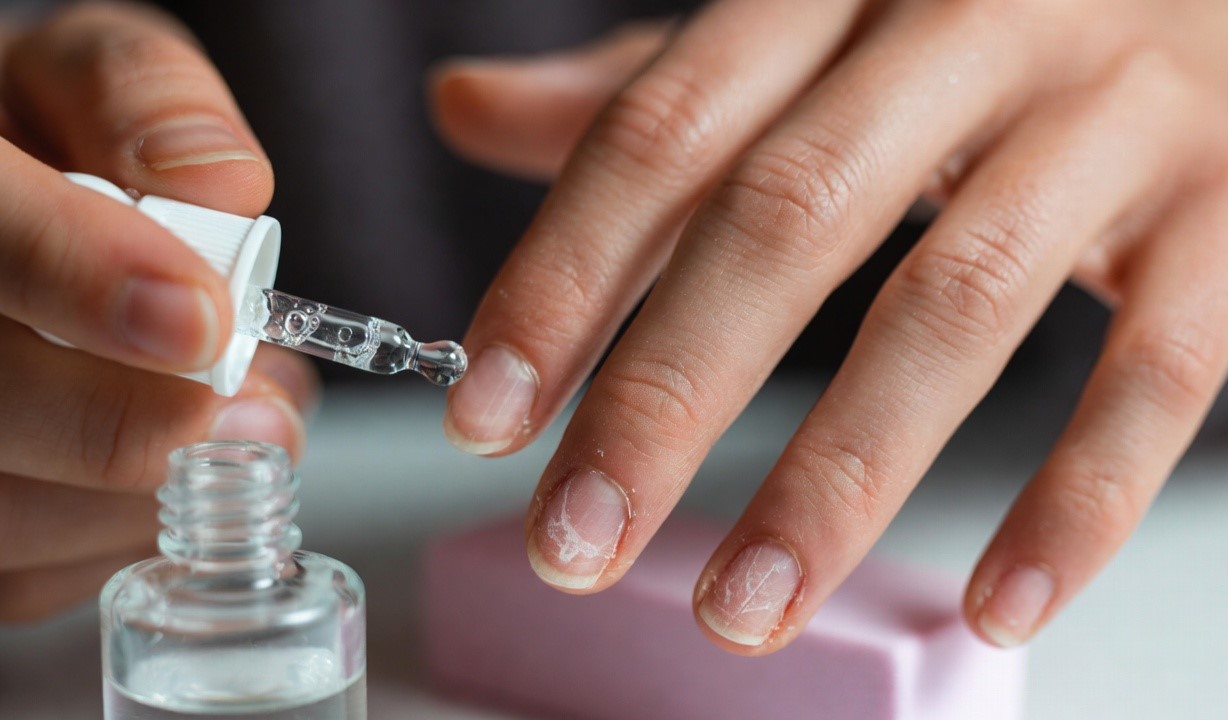
How to Repair Damaged Nails After Gel or Acrylic Removal
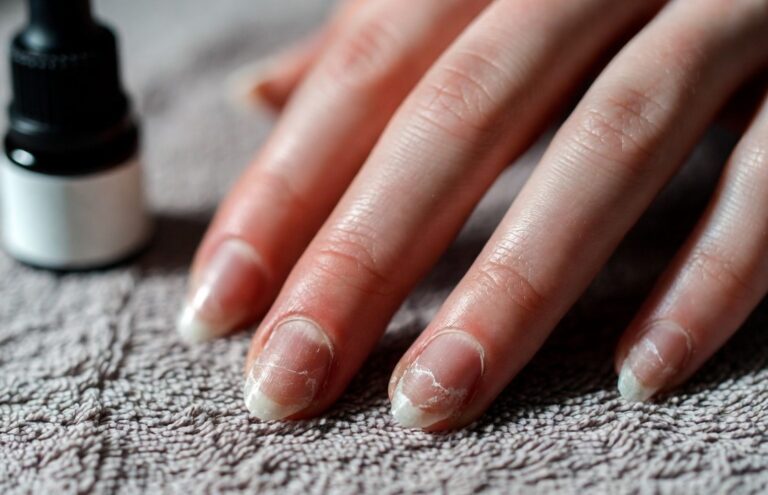
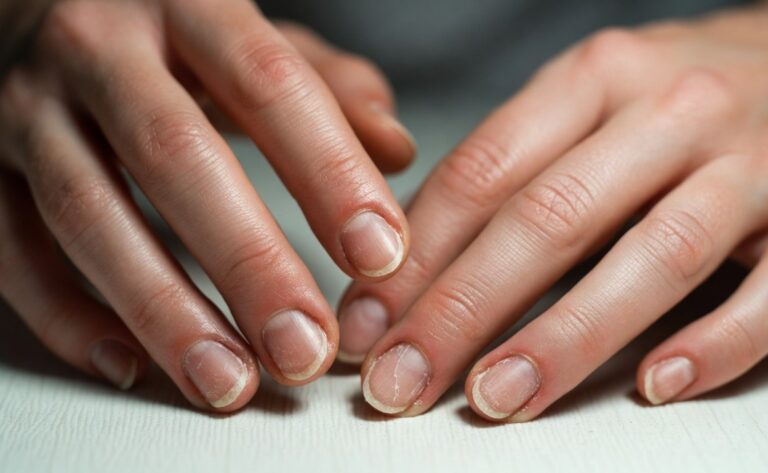
Have you just peeled off your acrylics only to find your natural nails looking like thin pieces of paper? You are definitely not alone in this painful struggle. Learning how to repair damaged nails properly is the absolute secret to transforming your brittle, peeling nail beds back into a state of healthy, glowing perfection.
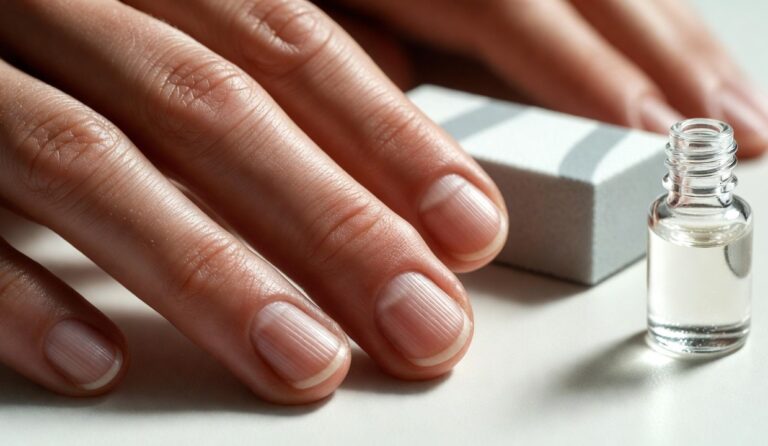
Gel polish and acrylic extensions look absolutely stunning on your hands, but the harsh removal process often strips away essential keratin layers. When your natural shield is compromised, daily tasks like opening a soda can or washing dishes can cause painful splits.
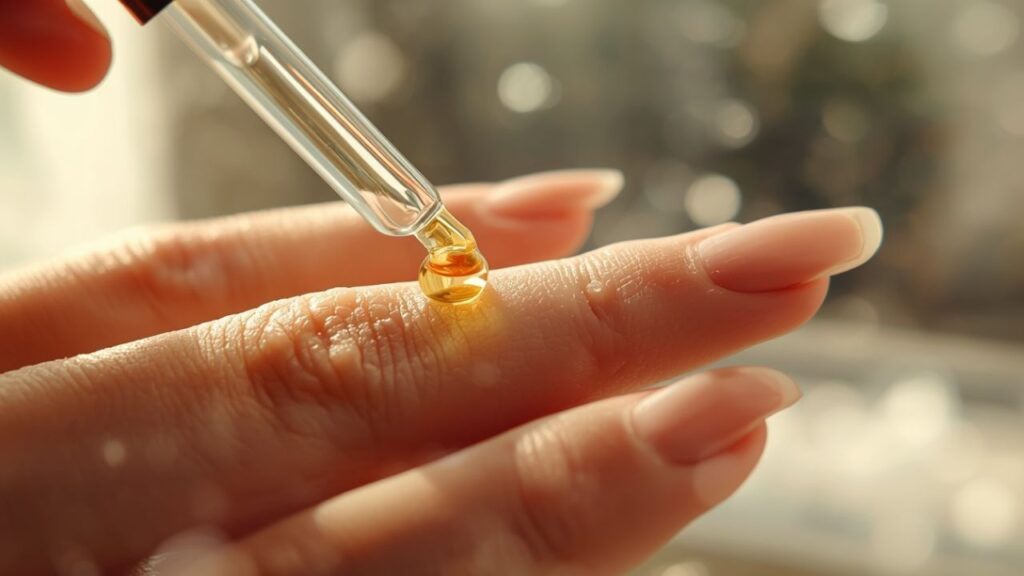
Thankfully, your nail matrix is incredibly resilient and can heal completely with the right post-acrylic care routine. By switching out aggressive salon treatments for targeted, nutrient-rich habits, you can fast-track your recovery process. Let us dive deep into the ultimate dermatologically backed roadmap to revive your natural nails safely from the comfort of your home.
1. Flood Your Cuticles with Intensive Therapeutic Oils
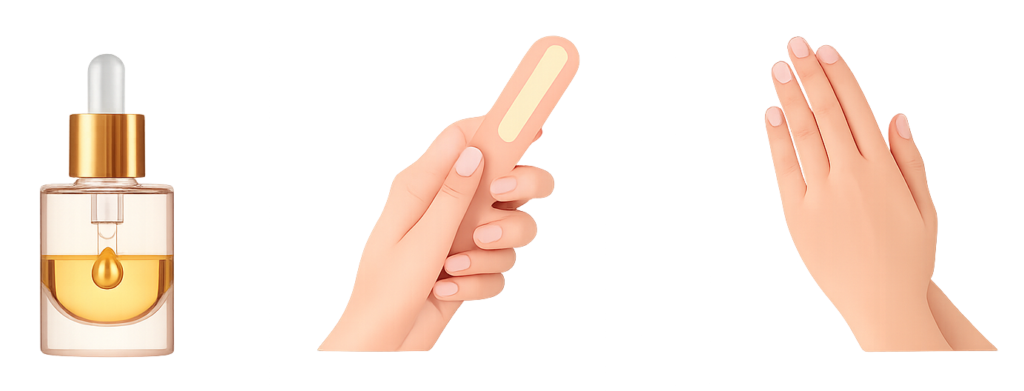
The absolute foundation of recovering from any severe nail damage is deep, consistent hydration. Standard hand lotions simply cannot penetrate deeply enough into the hardened structure of your nail plate to fix deep peeling.
According to a top board-certified dermatologist, deep hydration is the only way to stop surface peeling from reaching your nail bed. You need a dedicated, molecularly smaller solution like pure jojoba oil or sweet almond oil. For a full breakdown, check our complete cuticle oil guide. These natural oils absorb deeply where new growth forms.
Applying a high-quality oil to your cuticles three times a day dramatically improves flexibility. This prevents the brittle snapping that usually happens a week after you get your extensions removed.
2. Take a Strict 4-Week Nail Polish Detox
It is highly tempting to swipe on a fresh layer of gel or regular nail polish to hide the white, rough patches left behind by acrylic glue. However, this is the worst thing you can do when trying to protect your natural hands.
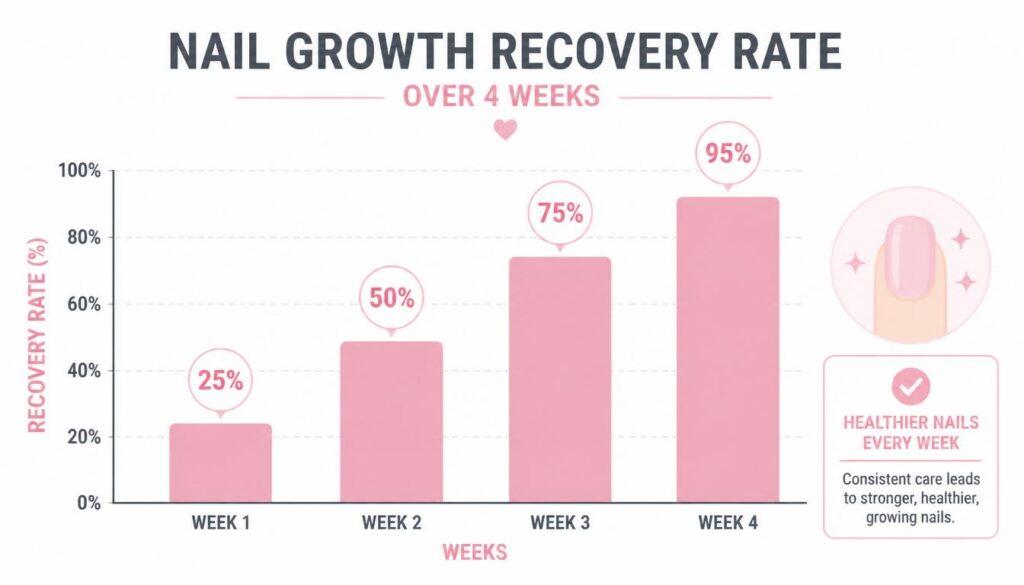
Your nail plates are currently highly porous and chemically weakened from the acetone soaking process. Applying more synthetic polymers traps the damage and prevents oxygen from naturally hardening the top layers.
Give your hands a strict four-week vacation from all base coats, gel lamps, and extensions. This breathing room allows the natural oils to do their work without chemical interference.
3. Trim and Round Your Tips Weekly
Long nails are gorgeous, but when you are figuring out how to repair damaged nails, length is your absolute worst enemy. Thin tips bend easily, and every single bend widens the microscopic cracks running down your nail bed.
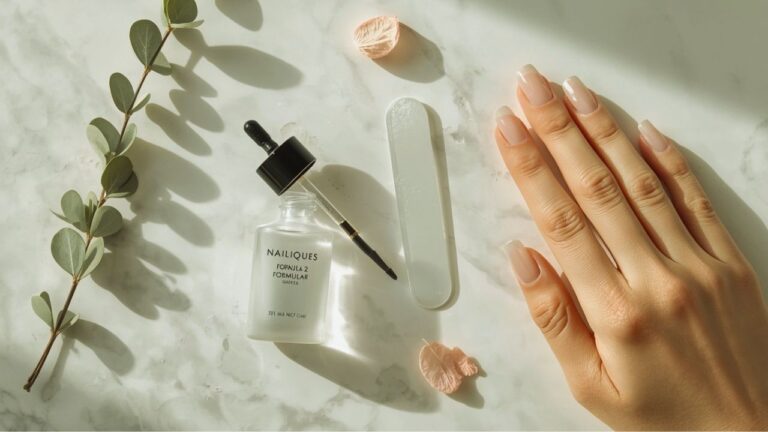
Grab a high-quality glass nail file and trim your nails down close to your fingertips. Always file gently in one single direction instead of sawing back and forth, which causes further splitting.
Opt for a softly rounded or oval shape during your recovery phase. Square edges have sharp corners that easily catch on clothing, leading to painful breaks that set your progress back.
4. Switch to a Gentle Keratin Hardener Carefully
When searching for how to repair damaged nails, you will find hundreds of industrial-strength nail hardeners on the market. However, you must be incredibly selective about the formulas you put on your hands.
If you are recovering from a heavy gel manicure, avoid formulas with high amounts of formaldehyde. They make the plate too rigid, causing it to shatter easily. Instead of rushing back to gel polish, apply a targeted nail treatment enriched with hydrolysed keratin and calcium. This bonds directly to weakened areas and acts as a protective shield.
These proteins bond directly to the weakened areas, acting like a temporary protective shield. Apply a single thin layer, leave it on for a few days, and remove it with an acetone-free remover.
5. Feed Your Nail Matrix From the Inside Out
Topical treatments work wonders, but figuring out how to repair damaged nails long-term truly depends on what you put inside your body. New nail growth takes months to show up, and that process requires a heavy supply of essential nutrients.
Consider adding a high-quality biotin supplement to your daily routine after consulting with your healthcare provider. Biotin is clinically proven to increase nail thickness and reduce surface peeling over time.
Pair this supplement with a diet rich in lean proteins, eggs, leafy greens, and healthy fats like avocados. Hydrating your body by drinking plenty of water also keeps your emerging nail matrix perfectly moisturised.
Common Post-Removal Mistakes to Stop Making Immediately
Many people accidentally prolong their recovery period and delay how to repair damaged nails by sticking to bad habits. Never, under any circumstances, pick or peel away the remaining bits of acrylic or gel glue with your teeth or metal tools.
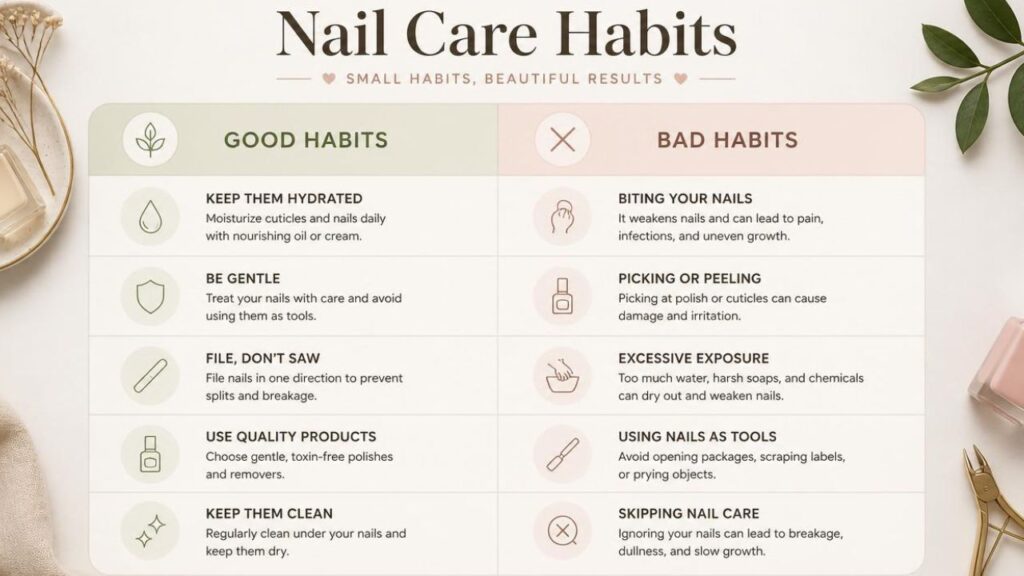
Filing down the surface of your natural nail with a heavy grit buffer to make it look smooth is another major mistake. This permanently thins your already fragile nail plate, making recovery twice as long.
Always wear protective rubber gloves when washing dishes or cleaning your house with household chemicals. Acetone and harsh detergents strip away the precious moisture you are desperately trying to build up.
The Bottom Line
Recovering from salon damage requires a lot of patience, but the results are always worth the wait.
By following these steps consistently, you will notice a massive difference in the strength and texture of your hands within a month. Treat your hands with kindness, keep them hydrated, and your natural nails will look better than ever.
Read more in the Nail Problems and Solutions Guide category.
10 Comments