How to Remove Gel Polish Safely at Home: 5 Easy Steps
If you’ve been looking for the right way to remove gel polish safely at home without wrecking your nails in the process, you’re in exactly the right place.
We’ve all done it – peeled a lifting edge in a moment of impatience and then spent the next two weeks wondering why our nails feel thin and papery. That’s not the gel causing the damage. That’s the removal.
The good news is that once you know how to do it properly, it takes about 30 minutes, and your nails come out far cleaner and healthier than any rushed peel could ever leave them. Five steps, no salon visit needed.
Why Gel Removal Goes So Wrong for So Many People
Gel polish bonds directly to the surface of your nail plate. That’s what makes it so durable — but it also means that the way you take it off matters enormously.
When you peel or scrape gel before it’s properly broken down, you’re not just lifting polish. You’re lifting the actual top layer of your nail with it. That’s where thinning, peeling, brittleness, and that horrible papery feeling come from. It’s not gel damage — it’s removal damage.
The moment you understand that, the whole approach to how to remove gel polish safely at home shifts. It stops being about getting it off quickly and starts being about giving acetone the time and access it needs to do the hard work for you.
Everything You Need Before You Start
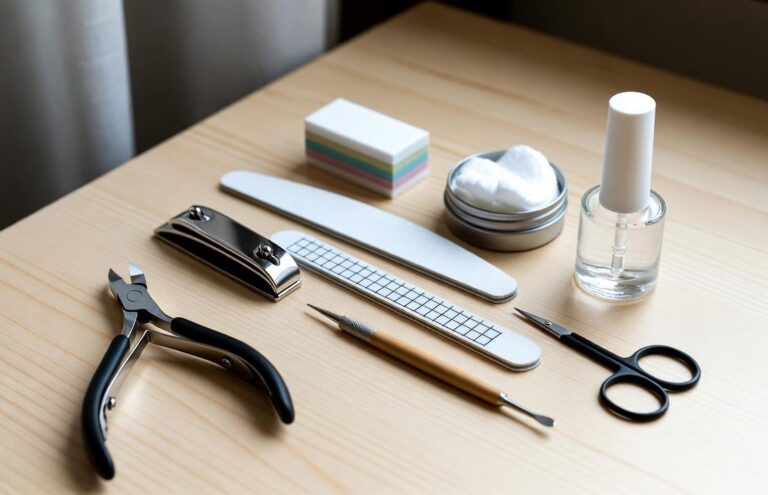
Don’t skip this part. There’s nothing more frustrating than sitting with acetone-soaked fingers and realising your orange stick is on the other side of the room. Get everything together first:
- 100% pure acetone — not regular nail polish remover. It simply isn’t strong enough to dissolve gel
- Cotton balls or thick cotton pads
- Aluminium foil cut into ten small squares, or soak-off nail clips
- A coarse nail file (180 grit works well)
- A soft buffer block
- An orange stick or cuticle pusher
- Cuticle oil and a nourishing hand cream for afterwards
Once everything is in front of you, it’s easy to remove gel polish safely at home without any scrambling mid-process.
Step 1: Break the Seal, or Nothing Else Will Work
This is the step most people either rush through or skip entirely — and it’s the reason their gel takes forever to budge.
Gel polish has a protective top coat that’s specifically designed to be sealed and waterproof. Acetone cannot get through that seal on its own without taking a very long time. Your job in this step is to break that seal manually so the soak can actually penetrate.
Take your coarse nail file and gently buff across the entire surface of each nail until every trace of shine is gone. You’re not trying to file the gel off — just dull the surface. It should look matte and slightly scuffed when you’re done. Be careful near the edges of the nail and don’t press too hard. You only need to get through the top coat, not into the gel layer underneath.
This one step is the real answer to how to remove gel polish safely at home without sitting there for 45 minutes, wondering if anything is happening. Cut your soak time nearly in half – just by filing first.
Step 2: Wrap and Soak the Right Way
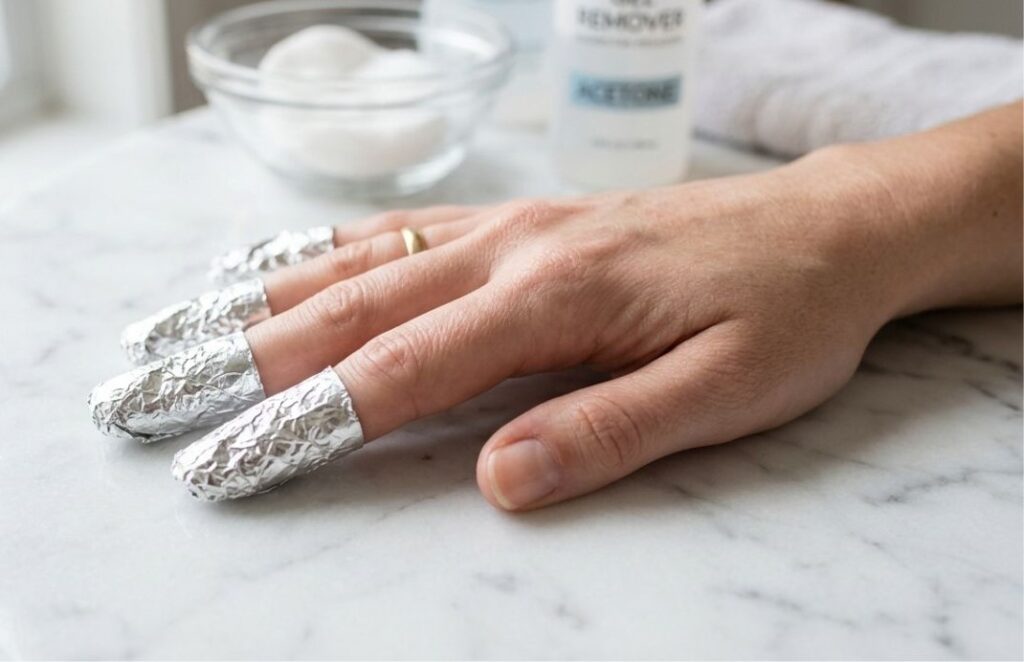
Cut your aluminium foil into squares large enough to wrap around each fingertip. Soak a cotton ball in pure acetone and press it firmly against your nail — make sure it’s in full contact with the surface. Wrap the foil snugly around your fingertip to hold it in place. Do this on all ten fingers and then set a timer for 10 to 15 minutes.
Now leave them alone. Don’t unwrap to check on them every two minutes. The acetone needs consistent, uninterrupted contact to break down the gel layers properly. If your foil starts slipping, re-wrap it. If you prefer to use soak-off nail clips, they work just as well and are a bit easier to keep in place.
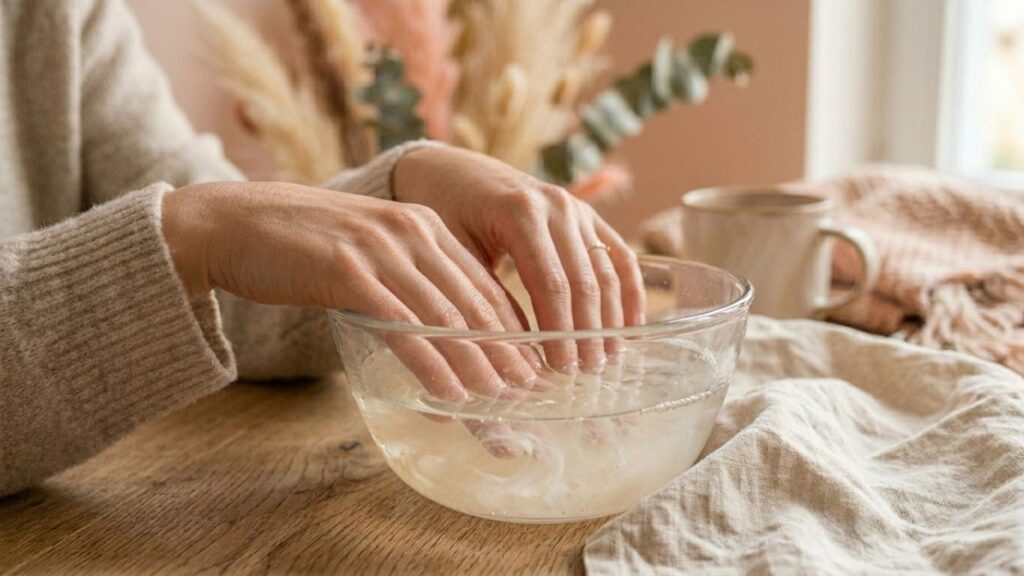
One important thing: don’t soak your fingers directly in a bowl of acetone. It’s tempting because it feels easier, but it dehydrates the skin around your nail bed far more aggressively than the foil method does. Stick with the wrap. It’s more targeted and much kinder to your hands while you wait. The foil method is the gold standard of knowing how to remove gel polish safely at home safely, and there’s a good reason it’s what the pros use, too.
Step 3: Ease Off the Gel. Don’t Force It
When your timer goes off, remove the foil from one finger at a time. You should see the gel has started to lift away from the nail – it might look slightly crinkled, raised, or bubble-like. That’s exactly what you want.
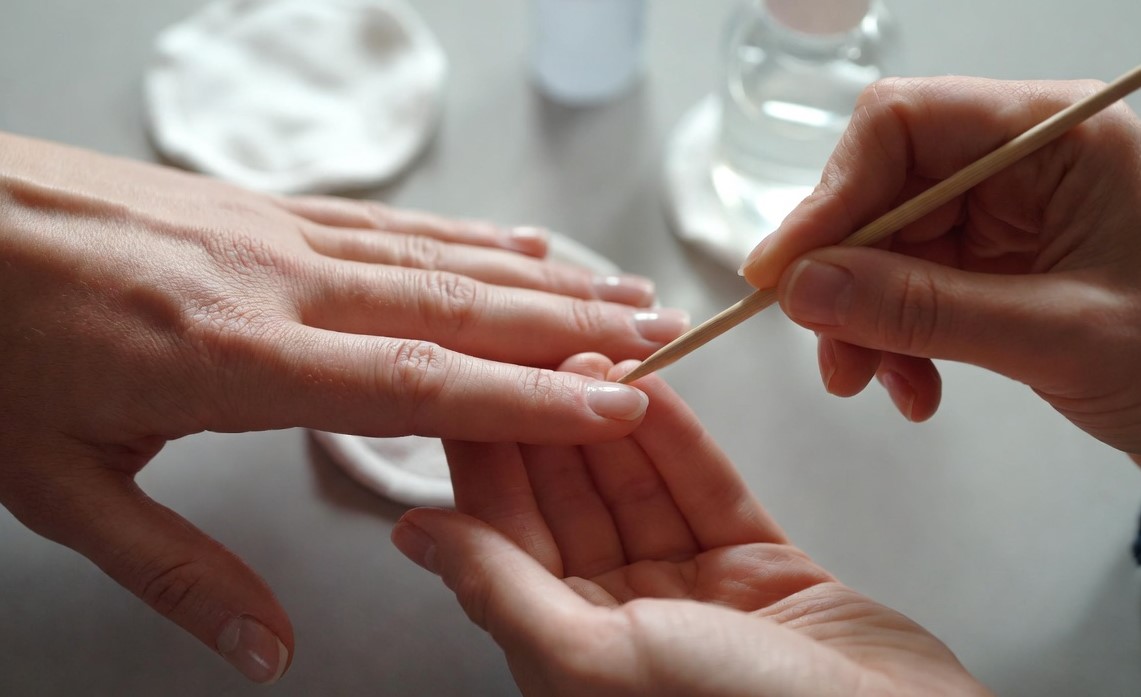
Take your orange stick or cuticle pusher and very gently nudge the gel from the base of the nail toward the free edge. Apply the lightest possible pressure. It should slide off with very little resistance. If it’s still holding on stubbornly in places, resist the urge to scrape. Just re-wrap that finger for another five minutes and check again.
This is the most important rule of the entire process. Gel that isn’t ready to come off will not come off cleanly — and forcing it will take part of your nail plate with it. Patience at this stage is what separates a smooth, clean removal from one that leaves your nails feeling wrecked.
Step 4: Buff Off the Last Bits Without Thinning Your Nail
Once the bulk of the gel is off, you’ll almost always have a few small patches or a thin residue clinging on. At this point, put the nail file down. A buffer block is all you need.
Gently buff across the surface of each nail with light, circular strokes. The remaining gel will clear away without any real effort. Using a coarse file at this stage would thin your natural nail plate — the buffer does the same job at a fraction of the pressure.
When you’re done, each nail should look smooth and matte. That’s the natural nail surface — clean and ready for whatever comes next. A light buff is the way to remove gel polish safely at home, completely without leaving anything behind.
Step 5: Give Your Nails the Moisture They’ve Lost
Acetone is incredibly effective at breaking down gel. It’s equally effective at stripping every last bit of moisture from your skin and nails while it’s at it. So this final step isn’t optional — it’s part of the process.
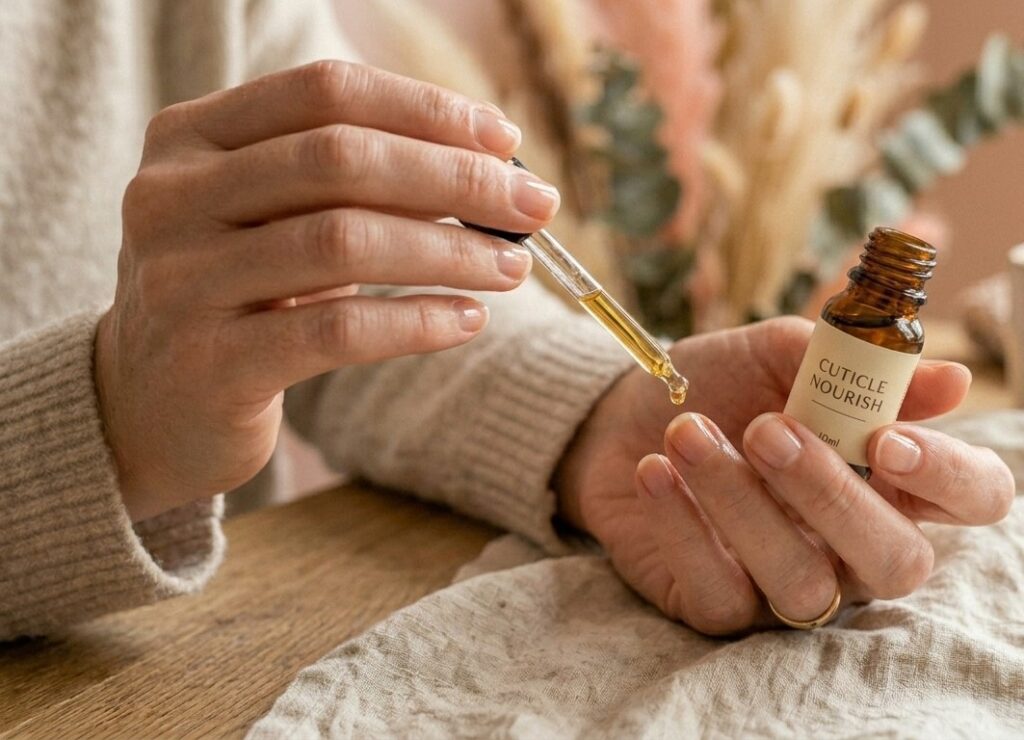
As soon as your nails are clean and buffed, apply cuticle oil generously across the nail surface, along the sides, and around the nail bed. Massage it in properly. Follow up immediately with a rich hand cream and give it a few minutes to absorb.
This step restores the moisture the acetone has pulled out and helps your nail plate and the skin around it recover quickly. According to Healthline’s nail care guide, consistent post-removal hydration is one of the most effective ways to prevent brittleness and keep the nail bed healthy between gel applications.
If your nails feel a little sensitive or thin after removal, give them a day or two to breathe before your next set. Our complete guide to healthy nail growth covers exactly how to strengthen and nourish your nails between applications so each removal leaves them in better shape than the last.
The Mistakes That Quietly Ruin Your Nails
Even when you follow the right process, small habits can quietly undo all your good work. Here are the ones worth knowing:
Peeling, even just a little. Even when the edge is already lifting, and it looks like it’ll come off cleanly, it won’t. Peeling always takes part of your nail surface with it. Always.
Scraping with metal tools. An orange stick works because it’s flexible and low-pressure. A metal cuticle tool is rigid and far too aggressive on a natural nail, especially after a soak.
Skipping the moisture step at the end. Acetone removal without immediate hydration is a direct route to brittle, peeling nails over time. According to WebMD’s nail health guide, repeated dehydration of the nail plate is one of the leading causes of long-term nail damage. The cuticle oil step takes two minutes. Don’t skip it.
Final Thoughts on How to Remove Gel Polish Safely at Home
Now that you know exactly how to remove gel polish safely at home, the right way, the whole thing stops feeling like a gamble. It’s just five steps: file the seal, wrap and soak, ease off gently, buff the residue, and nourish immediately. Do those five things in that order, and your nails come out looking good after every single removal.
The biggest shift is mental, honestly. It’s giving the acetone time to work instead of trying to rush it. Once you stop fighting the process, it becomes surprisingly easy to remove gel polish safely at home with results that are just as clean as anything you’d get in a salon — without the appointment, the waiting, or the cost.
Give it a go with your next removal, and you’ll understand why proper technique makes how to remove gel polish at home something you’ll actually look forward to rather than dread.